

Welcome to your central hub for mastering event management within WordPress. This is where you’ll find everything from expert tips and in-depth tutorials to the latest industry trends. Whether you’re a seasoned event pro or just launching your first event on WordPress, our goal is to provide actionable insights that help you succeed. Here, we’ll dive into practical strategies, explore powerful tools like WP Seats, and keep you ahead of the curve in the ever-evolving world of events.
WordPress Event Management Tips & Best Practices
Let’s be real for a second. A badly planned event is a recipe for chaos. Think long lines, confused guests, and logistical nightmares that can quickly overshadow even the most amazing speakers or performers. A well-thought-out event strategy, supported by solid WordPress tools, is your first line of defense.
We’ve moved past the days of clunky spreadsheets and manual ticket tracking. Today’s event management is about creating dynamic, seamless experiences. Consider the flow of a corporate conference versus a wedding reception. A conference needs clear registration, efficient session management, and exhibitor coordination. A wedding, on the other hand, is all about guest communication, seating arrangements, and creating a memorable day.
More Than Just a Website
A strategic WordPress setup is your chance to streamline operations and enhance the guest experience. When you design your event workflow with a clear purpose, you can:
- Prevent Bottlenecks: Guide attendees effortlessly through registration, ticket purchasing, and check-in.
- Boost Engagement: Position sponsor information and interactive schedules where they will get maximum visibility.
- Enhance Experience: Make sure every single guest, from ticket purchase to the event itself, feels informed and valued.
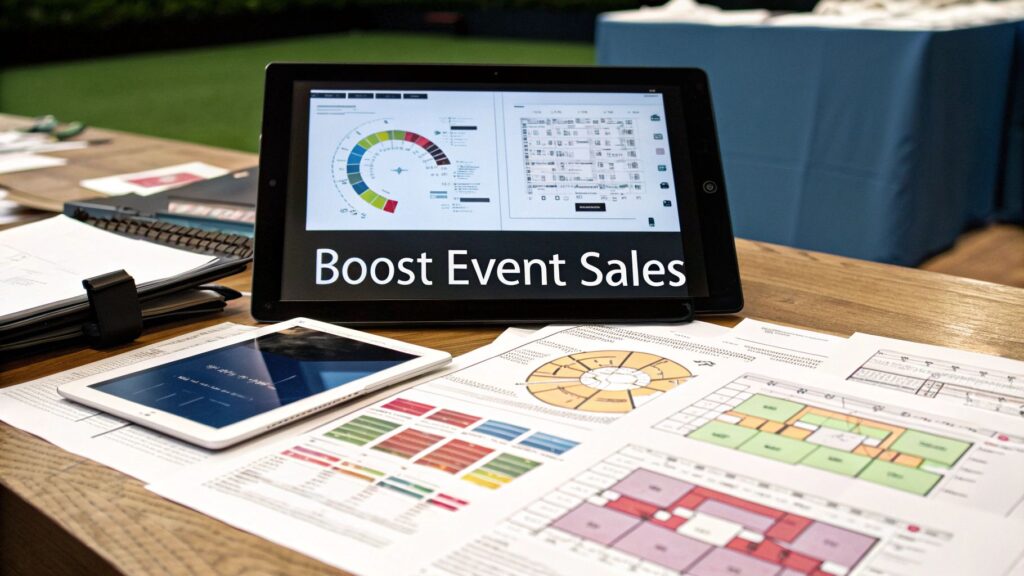
A well-designed event management process isn’t just an operational tool; it’s a critical part of your sales and marketing strategy. It allows you to visualize and sell the value of your event before the doors even open.
The Rise of Integrated Solutions
This whole shift toward smarter event management is being driven by powerful, accessible technology within the WordPress ecosystem. And the demand is exploding. The global event management software market was valued at a whopping $12.3 billion in 2023 and is projected to climb to $21.1 billion by 2028. That kind of growth tells you something important: people in every industry need smarter, more efficient ways to plan and execute events.
This technology makes it possible for anyone, not just large agencies, to manage sophisticated events. For organizers, one of the biggest wins is tying everything directly into their website. You’re no longer just selling a generic ticket; you’re selling a complete, curated experience. You can see how this works in our guide on how to effortlessly sell event tickets on your WordPress site with WP Seats.
It’s this direct integration that turns a simple website into a powerful revenue machine and sets the stage for an unforgettable event.
Tutorials for Using WP Seats (Plugin Guides, Troubleshooting, Use Cases)
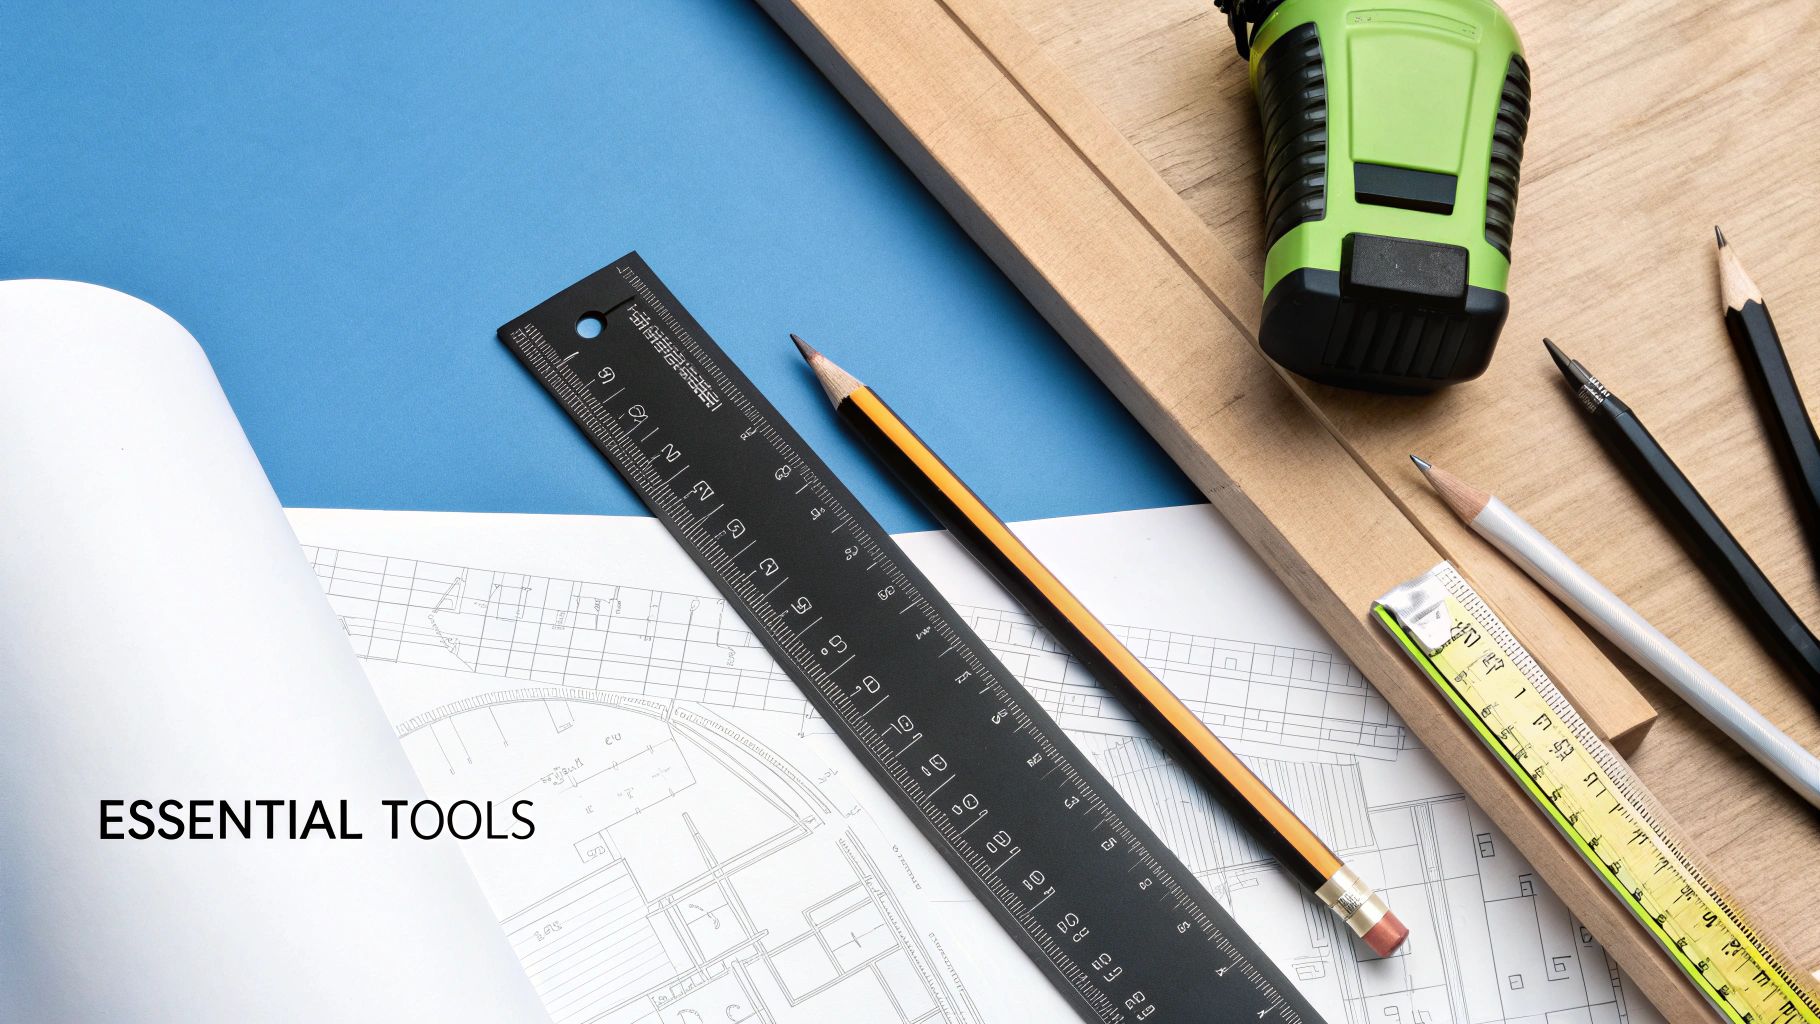
Before you can build an interactive floor plan or sell a single ticket, you need to gather some solid, accurate data about your venue. Honestly, this is the most important part of the entire setup process. If you rush this, you’re just setting yourself up for headaches later on.
Think of it like this: you wouldn’t start building a house without a blueprint, right? Same principle applies here. This tutorial will walk you through the essential first steps in WP Seats: gathering your venue details to create a reliable foundation for your seating chart.
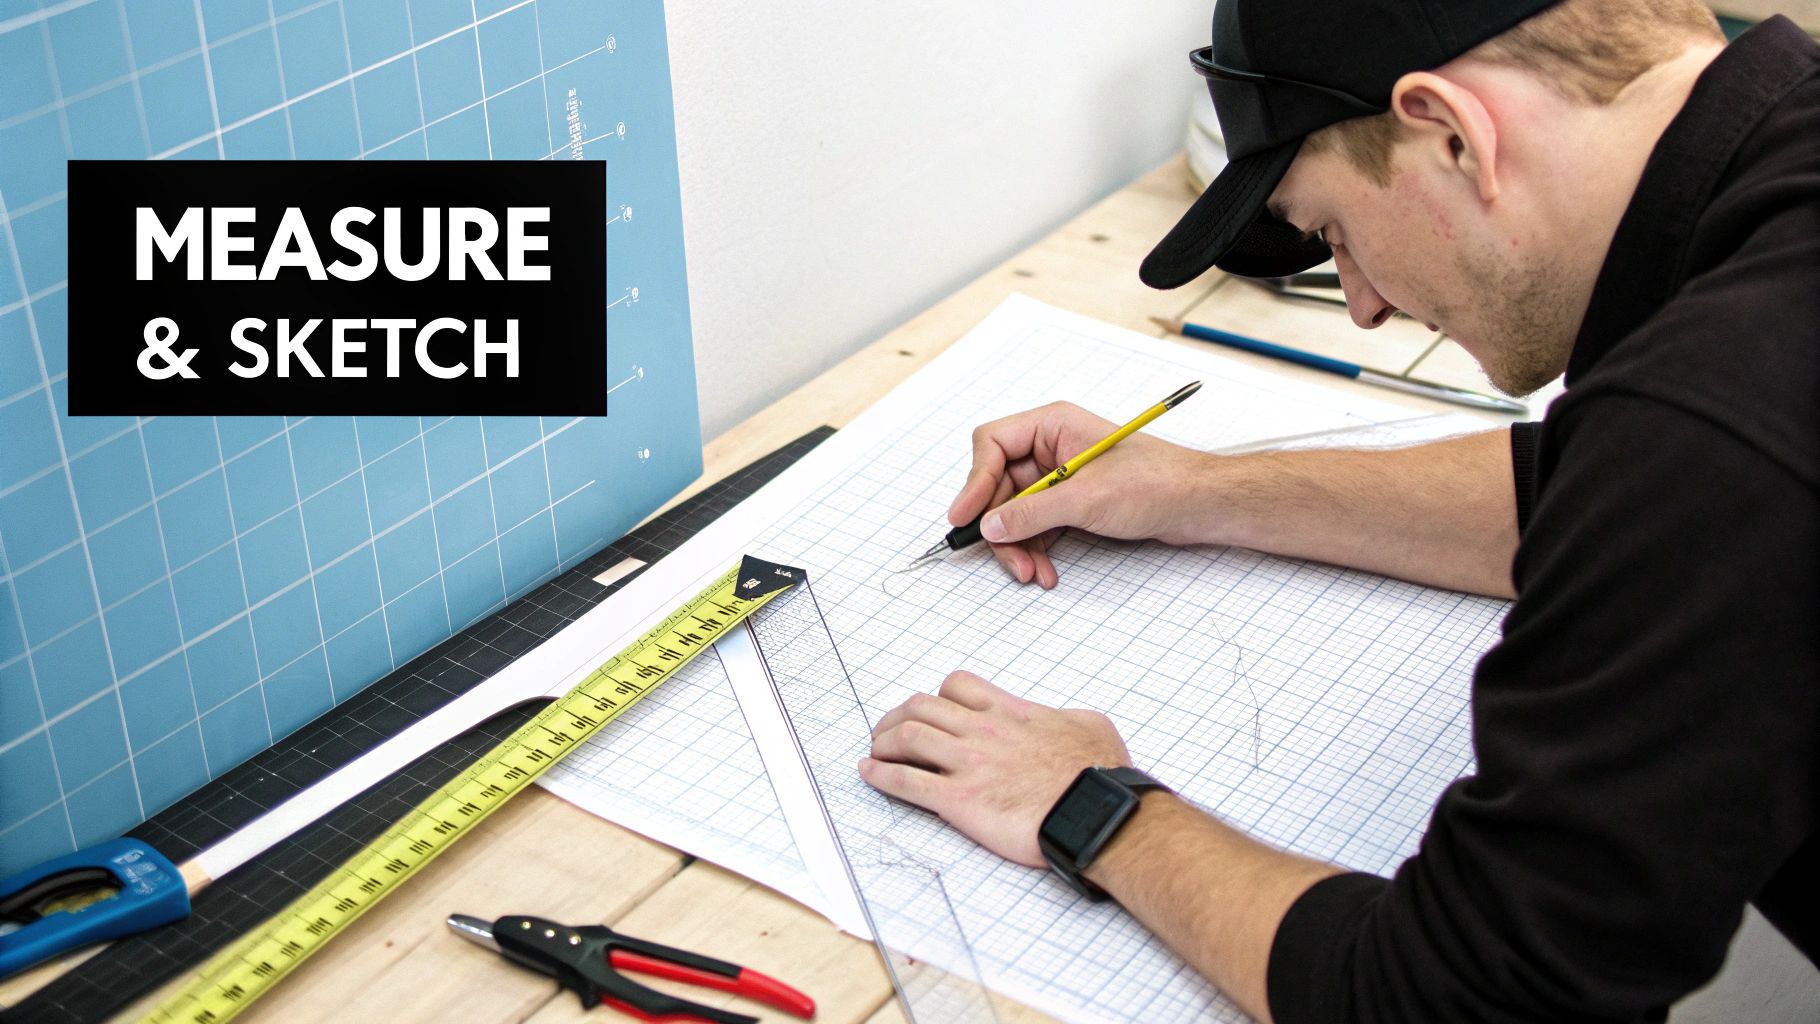
Your first job is to get precise measurements of the entire space. And I don’t just mean the length and width of the room. You need the exact dimensions of every wall, every doorway, and every window. Don’t eyeball it. A small miscalculation of a few inches can be the difference between a table fitting perfectly and blocking a fire exit.
The most common mistake we see is users forgetting to account for how doors swing open or where permanent fixtures like columns are. You have to measure the clear, usable space, not just the wall-to-wall distance.
The Essential Pre-Design Checklist
To ensure your WP Seats floor plan is accurate, run through this checklist before you start. This will save you from common mistakes that end up costing time and frustration.
| Checklist Item | Why It’s Important | Pro Tip |
|---|---|---|
| Overall Room Dimensions | This is your canvas. It defines the maximum usable area for your entire layout. | Measure at least twice! And get a partner to double-check your numbers. |
| Doorway Width & Swing | Determines entry/exit flow and ensures furniture or booths don’t block access. | Mark the direction each door swings on your sketch. This is crucial for traffic flow. |
| Window Locations & Height | Impacts where you can place tall items like screens, backdrops, or displays. | Note the height from the floor to the bottom of the windowsill. |
| Pillars & Support Columns | These are major, unmovable obstructions you must design your entire plan around. | Measure their exact diameter and distance from the nearest walls. |
| Permanent Fixtures | Includes built-in stages, bars, or counters that cannot be moved. | These are your layout anchors. Your design must flow with them, not against them. |
| Outlet & Port Locations | Dictates where you can set up anything requiring power, like A/V gear or vendor booths. | Create a separate “power map” so you know where your tech zones can be. |
| Emergency Exits & Paths | These are non-negotiable for safety and legal compliance. They must remain clear. | Mark these in bright red on your sketch. They are the first thing you should map. |
Taking the time to gather this level of detail is what separates a professional, functional layout from an amateur sketch. It’s the foundation for everything you’ll build in WP Seats.
Identifying Key Structural and Safety Elements
Beyond just the numbers, you have to map out every permanent fixture that your layout must work around. These are the non-negotiables.
Your sketch should clearly identify:
- Support Columns and Pillars: Note their exact location and size.
- Permanent Staging or Platforms: If there’s a built-in stage, get its height, depth, and width.
- Electrical Outlets and A/V Ports: Know where your power sources are.
- Fire Exits and Emergency Pathways: These are legally required and must be kept clear.
This detailed mapping is what makes your design not just look good, but actually work in the real world. It’s the groundwork that makes tools like interactive seating charts so incredibly powerful. Getting these details right is the first step toward creating a truly dynamic booking experience, which is one of the big reasons why WPSeats is the smart choice for event seating.
Ultimately, this phase isn’t just about collecting numbers. It’s about understanding the space’s unique personality—its strengths and its limitations. When you document every little detail, you build a solid foundation for a successful and safe event.
Industry Trends (Virtual Events, Automation, Ticketing, Community Building)
The event industry is constantly evolving, and staying on top of the latest trends is key to success. From the rise of hybrid events to the demand for community-centric experiences, the right technology can make all the difference. Let’s explore how major trends like immersive ticketing and automation are shaping the future of event management.
A major trend is the move towards more visual and interactive ticketing. Attendees no longer want a simple dropdown menu; they want to see where they’ll be. This is where 2D and 3D floor plans come in, transforming the booking process into an engaging part of the event experience itself.
2D Simplicity Versus 3D Immersion
Your first big decision in visual ticketing is whether to go with a 2D or 3D platform. A 2D plan gives you a classic, top-down view. It’s fantastic for mapping out traffic flow, seeing where tables fit, and getting a general sense of the space. They’re quick to make and super easy for anyone to understand at a glance.
But 3D plans? They offer a completely different experience. A 3D render provides a realistic, immersive preview of the venue. It’s what helps your ticket buyers actually see their sightlines and get a feel for the atmosphere.
This visual richness is why the market is leaning so heavily toward 3D. The global market for 3D floor plan software is on track to hit $484.3 million in 2025, blowing past the $325.4 million projection for 2D tools. People clearly want more engaging, lifelike representations of their event spaces. If you’re curious, you can explore more about these market trends and what they mean for the industry.
For event organizers, the most critical factor isn’t just drawing the plan—it’s automating what you can do with it. This is where specialized event management tools come into play.
Automation and Community Building
Here’s where a specialized WordPress plugin like WP Seats aligns with key industry trends. It’s not just a drawing tool; it integrates ticketing, automation, and community building right into your WordPress dashboard.
Here’s why that integration is a game-changer:
- Direct-to-Ticketing Connection: Your attendees see the layout and pick their exact seats right from your website. This builds community by letting groups coordinate their seating easily.
- Real-Time Automation: The moment a seat is sold, the system marks it as unavailable. This completely eliminates duplicate sales and automates a previously manual task.
- Revenue Optimization: Want to charge more for front-row seats or VIP tables? You can easily create different ticket tiers and assign them to specific sections on your map, automating tiered pricing.
- Centralized Management: Everything—from your layout design to your sales data—lives right inside your WordPress dashboard. It creates one single, reliable source of truth for your entire event, simplifying your workflow.
By embracing these trends with a tool like WP Seats, you’re building an automated, interactive sales machine that boosts revenue, builds community, and makes your attendees happier.
Comparisons with Competitor Plugins
Alright, this is where the magic happens. We’re moving past the planning stage and into actually building the interactive floor plan you’ve envisioned. It’s one thing to sketch ideas on paper, but it’s another to see them come alive on screen.
To make this super practical, we’ll stick with our charity gala dinner example. Using a tool like WP Seats, I’ll walk you through how to create a floor plan that’s not only functional for your team but also impressive for your guests. Many competitor plugins have complex interfaces, but WP Seats is designed for a streamlined workflow.
The first real step is translating your physical measurements and rough sketches into a digital format. Getting this foundation right is crucial for everything that follows.
This diagram breaks down the initial workflow for getting your basic layout into the system. It’s simpler than you might think.
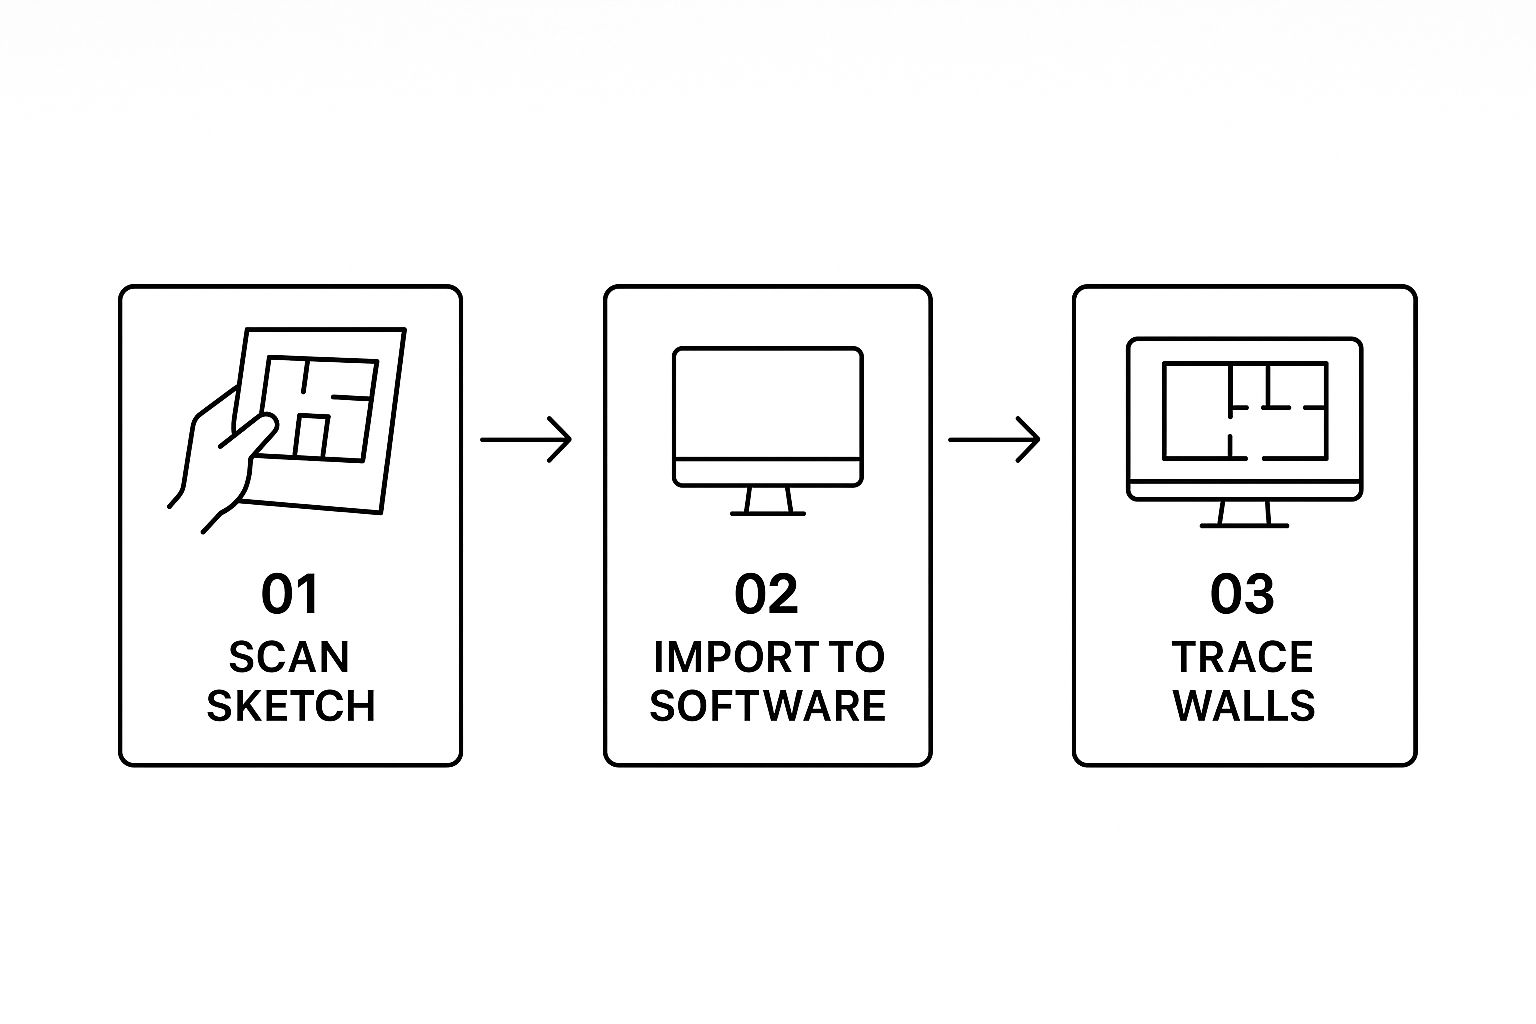
As you can see, it all starts with creating a clean, traceable image that will serve as the canvas for all your digital work.
Setting Up Your Venue Canvas
The first thing you’ll do inside your floor plan software is upload your venue’s background image. This could be a scanned copy of your hand-drawn sketch, an official architectural diagram, or even a simple layout you made in another program. This image acts as the static backdrop for all the interactive elements you’re about to add.
Once it’s uploaded, you can start tracing the key structural features. Draw the walls, any permanent fixtures like pillars or a built-in stage, and mark where the doors are. It doesn’t need to be a perfect architectural rendering, but it does need to be proportionally accurate. This gives attendees a realistic feel for the space.
If you’re new to this, there are some great guides on how to draw a floor plan that can help you nail the basics.
Adding Seating Sections and Objects
With your venue’s shell in place, it’s time to start carving out the different areas. For our gala dinner, we’ll want to create a few distinct zones.
- VIP Section: This area will be close to the stage and feature premium tables. You can draw a shape around this zone and simply label it “VIP Seating.”
- General Admission: This will be the main floor area housing the standard tables for most attendees.
- Sponsor Zone: A dedicated space near the entrance is perfect for sponsor booths or displays.
Insider Tip: Color-code your sections from the get-go. Assigning a unique color to VIP, General, and Sponsor areas makes the plan instantly readable for both your internal team and your customers. It’s a small detail that makes a huge difference.
The WP Seats interface is built for this. While some competitors require you to switch between different screens, WP Seats gives you intuitive tools to draw these sections and add objects directly onto your plan in one unified editor.
Next, you’ll populate these defined areas. Start dragging and dropping round tables into the VIP and General Admission sections. You can then add individual chairs around each table, and the system will automatically number them for you. This level of detail is a lifesaver for any event with assigned seating.
The final piece of the puzzle is connecting your beautiful layout to your ticketing system. This is the step that officially makes your floor plan interactive.
Within WP Seats, you can assign a specific ticket type (and price) to an entire section or even to individual seats. For our gala, we’ll link a “VIP Ticket” to the premium section and a “Standard Ticket” to the general seating area.
Now, when a guest lands on your event page, they won’t just see a boring list of ticket options. They’ll see your interactive floor plan, click on an available seat they like, and buy it right there. The system instantly marks that seat as sold, which prevents double-bookings and gives you a live, at-a-glance view of how your event sales are going.
User Success Stories and Case Studies
Once you’ve built the basic structure of your floor plan, it’s time to get strategic. This is where you transform a simple map into a powerful tool that actively boosts your revenue and makes your event better for everyone attending, just as many of our users have done.
A well-designed layout does more than just show people where to go; it works for you.
Think like a strategist. You can implement a tiered pricing structure directly onto your interactive map. By creating premium seating zones—say, those with the best sightlines to the main stage—you can confidently charge higher ticket prices. Case studies from our users show that these premium spots are almost always the first to sell out, bringing in a significant portion of revenue right from the launch.
Monetize and Market Your Map
Your interactive plan isn’t just an operational tool; it’s a dynamic marketing asset. You can use it to build a sense of urgency and exclusivity, which are fantastic motivators for ticket sales.
Here are a few tactics our successful users have implemented:
- Early-Bird Access: Give your most loyal followers or newsletter subscribers first crack at the best seats. It’s a great way to reward your community and kickstart the buzz.
- Sponsor Visibility: Sell premium booth placements in high-traffic areas. Use the map to visually show sponsors exactly how valuable their spot is, a feature praised in many of our user reviews.
- Upsell Opportunities: Let the map do the selling. When people can see the benefits of VIP sections—like being closer to the bar or having access to an exclusive lounge—they’re much more likely to upgrade.
The real magic happens when seat selection goes from a simple checkout step to a genuinely compelling experience. When attendees can visually explore the venue and pick their perfect spot, they feel more connected to the event and more confident in their purchase. This sentiment is echoed in countless user testimonials.
Design for Flow and Flexibility
Beyond making sales, your layout strategy has to consider the actual on-the-ground experience for your guests. This means thinking about foot traffic and designing logical paths to prevent those frustrating bottlenecks near entrances, restrooms, or food vendors. A clear, smooth flow makes for a much more enjoyable event.
But the value of an interactive floor plan doesn’t stop after one event. With a tool like WP Seats, you can create and save multiple layout versions for the same venue. This is incredibly efficient. Imagine having a space set up for a theater-style conference on Friday, then digitally reconfiguring it for a gala dinner on Saturday with just a few clicks—a common use case for our versatile venue clients.
This kind of flexibility is a game-changer for managing different kinds of events in one space. You can learn more about what types of events can use WP Seats, from trade shows to concerts.
The power of a clear visual layout is undeniable. While we’re focused on events, the principle is universal. Just look at real estate: recent data shows that 86% of homebuyers are more likely to consider a property if the listing includes a floor plan they like. It’s now seen as the most important asset after photos. This same psychology is at play when you’re selling event tickets—a great map helps people commit.
Product Updates & Feature Launches
When you’re deep in the weeds of event planning, it’s totally normal for questions to pop up, even with the best tools on hand. In this section, we cover common questions and highlight how recent WP Seats updates and feature launches provide even better solutions.
Think of this as a quick-start guide to clearing up any confusion, so you can get back to designing a layout that just works.
Handling Different Event Types
One of the first questions people ask is, “Can a seating chart tool handle my event if there aren’t any chairs?” It’s a great question. What about a standing-room-only concert or a trade show packed with vendor booths?
Absolutely. While a tool like WP Seats is fantastic for assigned seating, its real power lies in its flexibility. Our latest updates have enhanced the “zoning” feature, making it even easier to map out different areas for general admission events or festivals.
Think of it like this:
- A VIP lounge
- A general admission floor
- Sponsor booths or exhibition areas
Each of these zones becomes a sellable “ticket,” allowing you to manage capacity and offer tiered pricing without assigning a single specific seat.
The trick is to stop thinking of it as just a seating chart. It’s a map of your entire event experience. Every distinct area—be it a chair or a general zone—is an inventory item you can sell.
This approach gives you the freedom to use one familiar tool for all kinds of events, from a formal gala to a bustling craft fair.
Managing Last-Minute Changes
We’ve all been there. The venue calls to mention an “unexpected” pillar right where your main table was supposed to go. A headline sponsor suddenly needs more space. Guest numbers shift at the eleventh hour.
This is where a digital tool saves the day. With a plugin like WP Seats, you can hop into your WordPress dashboard and make changes on the fly. Just drag and drop tables, add or delete a few seats, or reassign guests in moments. A recent feature launch introduced a “bulk edit” tool, allowing you to modify multiple objects at once, saving critical time.
If you’ve already started selling tickets, the most important thing is to communicate clearly with anyone affected. A quick, proactive email explaining the small change goes a long way in preventing confusion and frustration on event day.
Getting the Right Level of Detail
How precise do your measurements really need to be? It’s a common worry, but for your interactive map, the most critical factor is relative scale and proportion.
Your digital plan isn’t meant to be an architectural blueprint. The goal is to give attendees a realistic feel for the space and their location within it so they can confidently pick a spot. As long as the layout feels right and the proportions are correct, you’re golden.
Finally, what if you already have a technical file, like a PDF or an architect’s DWG drawing? While you can’t import those formats directly, the workaround is surprisingly simple and effective:
- First, save your professional plan as a high-quality image file, like a PNG or JPG.
- Next, upload that image as the background canvas in WP Seats.
- From there, you just trace over the layout, adding your interactive tables, seats, and other objects right on top.
This method gives you the best of both worlds: the precision of an architectural drawing combined with powerful, interactive booking functionality.
Ready to transform your event planning? With WP Seats, you can create stunning, interactive floor plans that sell tickets and delight attendees. Learn more and get started today at WPSeats.io.
Article created using Outrank