

Let’s be honest, an event floor plan creator needs to be more than just a fancy drawing tool. It should be a core part of your strategy, helping you fill every seat and give your attendees a fantastic experience. If you’re using WordPress, a plugin like WP Seats can turn a basic event page into a fully interactive booking system. This isn’t just a small upgrade; it’s a completely different way of managing your events. Our plugin guides and tutorials show you how to leverage this for everything from troubleshooting common issues to exploring unique use cases.
Why You Can’t Afford to Use a Static Floor Plan Anymore
Think about it. Those old-school, static PDF or image-based floor plans are a relic of the past. In today’s market, giving your attendees an interactive map isn’t just a nice-to-have feature—it’s an absolute must. When you let people see exactly where their seats or tables are before they buy, you’re giving them confidence. That confidence often translates directly into more ticket sales.
This isn’t just a hunch; it’s where the entire industry is headed. The global market for event floor plan software is on track to jump from US$225 million in 2025 to a massive US$332 million by 2031. Why? Because event organizers are ditching clunky, manual processes for specialized tools that handle everything from design to sales. You can see how this industry shift is changing event management and why getting on board now is so important. Industry trends point towards greater automation in ticketing and a focus on community building, both of which are enhanced by interactive seating.
From a Simple Diagram to a Revenue-Generating Machine
An interactive floor plan built with a tool like WP Seats does way more than just show a layout. It becomes an active, money-making part of your sales process. You can assign different prices to specific seats or sections in just a few clicks.
Imagine creating:
- Premium VIP Sections: The best views in the house, maybe with a little extra legroom.
- Standard Tiers: Great, well-placed seats at a fair, mid-range price.
- Budget-Friendly Options: Seats further back or with a partial view, perfect for price-conscious attendees.
This level of detail gives you precise control over your pricing strategy, letting you squeeze every last drop of value out of your venue.
A great floor plan is the foundation of a successful event. It dictates guest flow, enhances engagement, and simplifies operations for your entire team. It’s the silent co-host that ensures everything runs smoothly.
When you start using an event floor plan creator, you’ll quickly realize it’s not just about logistics. It’s about building a better, more engaging, and more profitable event by giving both you and your attendees the tools you deserve.
Adopting an interactive floor plan isn’t just a minor tweak—it’s a fundamental upgrade that impacts everything from user experience to your bottom line. The old way of using static diagrams simply can’t compete with the new standard of dynamic, clickable maps.
Here’s a quick breakdown of just how big the difference is, especially when you consider comparisons with competitor plugins:
Static Plan vs Interactive Floor Plan
| Function | Static Diagram (The Old Way) | Interactive Floor Plan (The New Standard) |
|---|---|---|
| User Experience | Confusing and frustrating. Customers guess where their seats are. | Clear and empowering. Users pick their exact seat from a live map. |
| Sales Process | Manual and slow. Often requires phone calls or email exchanges. | Automated and instant. Customers book and pay in one seamless flow. |
| Pricing Strategy | Limited to basic price zones (e.g., “Section A”). | Granular control. Price seats individually or by row for maximum revenue. |
| Real-Time Updates | Impossible. The chart is outdated the moment a ticket is sold. | Automatic. Availability is updated in real-time, preventing double-booking. |
| Analytics & Data | Zero insights into which seats are popular or how users behave. | Rich data. See which sections sell fastest and optimize future events. |
The takeaway is clear: moving to an interactive system is a direct investment in your event’s success. It simplifies management for you and creates a professional, trustworthy experience for your customers. User success stories and case studies consistently show higher satisfaction and sales after making the switch.
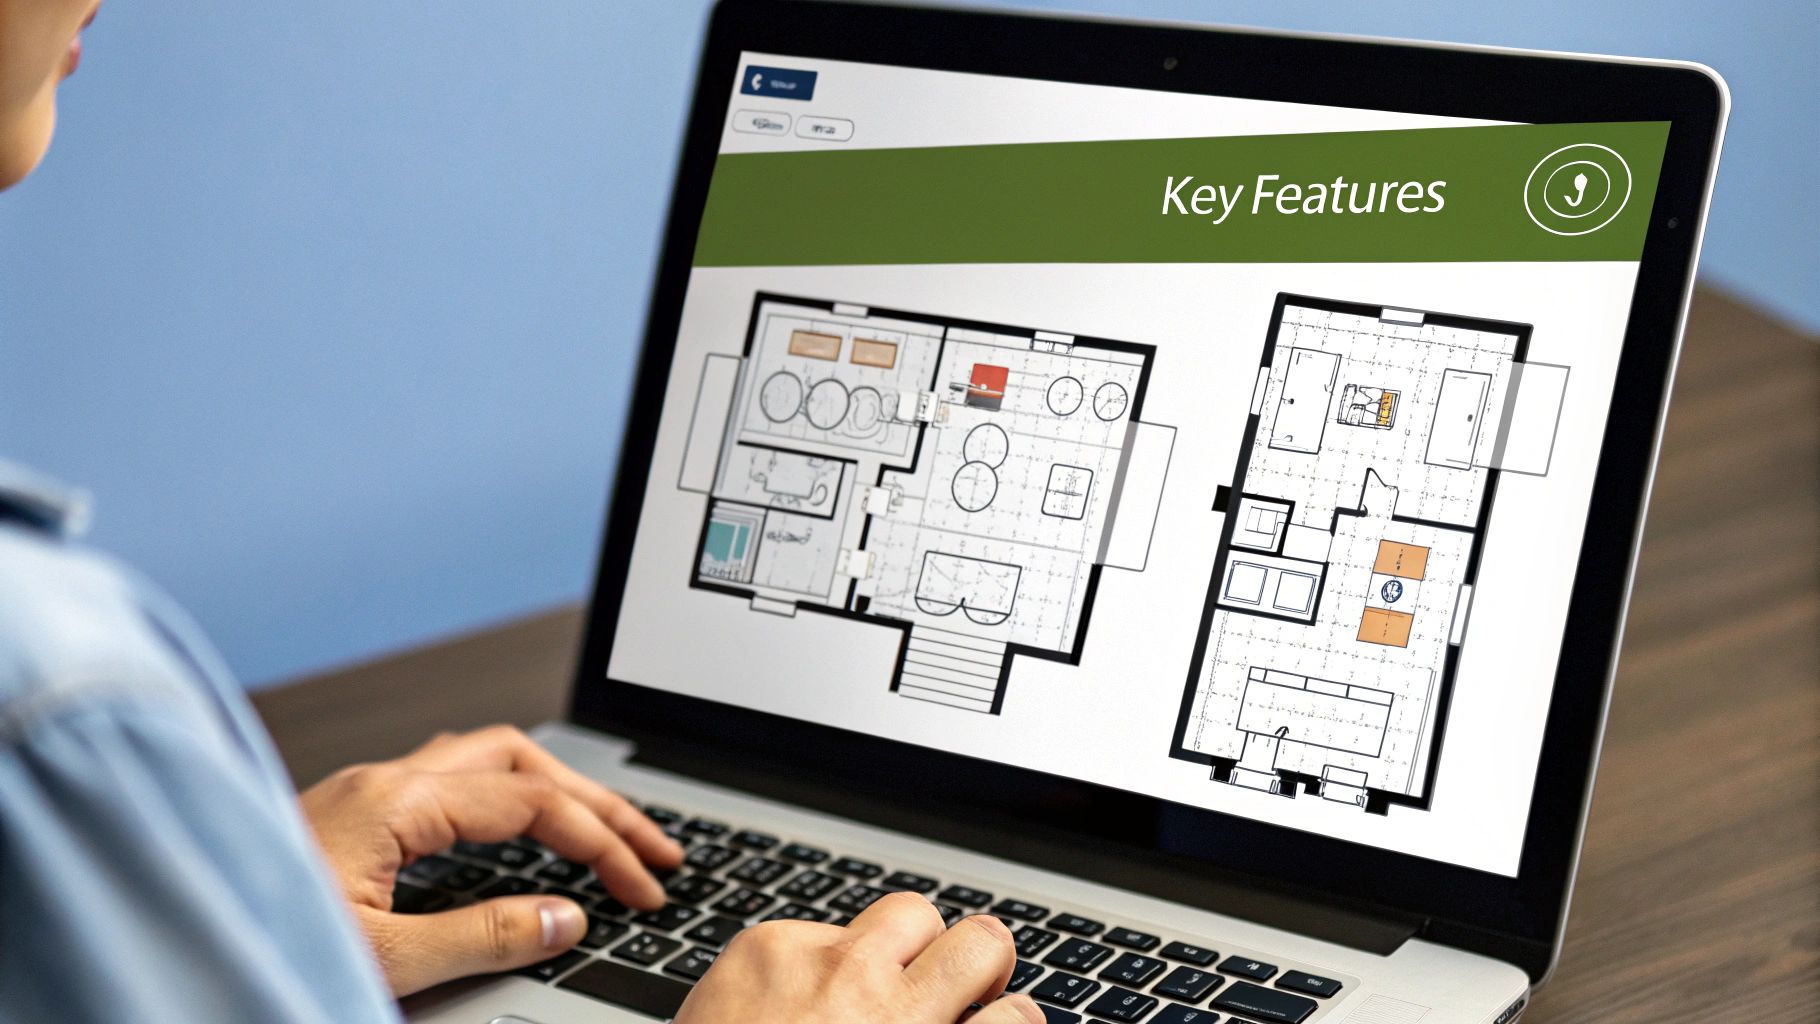
Building Your First Venue Map From Scratch
Staring at a blank canvas can feel a little intimidating, but trust me, building a functional map with a modern event floor plan creator is way more straightforward than you might think. The goal here is to create a digital twin of your physical space—a reliable foundation for selling tickets and managing your venue without any last-minute surprises. This is a core WordPress event management best practice that saves countless hours.
Your first move is the most critical one for getting everything right. Don’t guess the dimensions. Instead, always start by uploading a high-quality image of your venue’s existing schematic or blueprint. This becomes a traceable background layer in your design tool, guaranteeing your digital layout is a perfect mirror of the real-world space. It’s a simple action that prevents major logistical headaches down the line.
Tracing Your Venue’s Core Layout
With your schematic locked in as a background, you can start drawing the main structural elements. For a community theater, this means mapping out the stage, any permanent fixtures like sound booths, and those pesky support pillars that might obstruct views.
- The Polygon Tool is your best friend for tracing irregular shapes like curved stages or angled walls.
- Use basic shapes like rectangles and circles for fixed objects like bars, merchandise tables, or large planters.
- Label everything clearly. Mark non-bookable areas like “Stage,” “Restrooms,” and “Exit” so attendees can easily find their way around.
Getting some inspiration from different small event space ideas can also spark some creative layouts, even if you’re working with an unconventional venue.
My Pro Tip: Don’t get hung up on perfection on the first pass. Your initial goal is just to create a solid structural outline. You can always go back and fine-tune the details, like exact seat placement and aisle spacing, in the next phase.
This whole digital drawing process, which you can see in the animation below, lets you build out even a complex venue map using simple, intuitive tools.
The drag-and-drop functionality is really what makes it all click. You can quickly add and adjust elements until the layout feels just right. Honestly, this foundational step is why https://wpseats.io/why-wpseats-is-the-smart-choice-for-event-seating-ticketing-and-reservations/, because it combines powerful design tools with an interface that doesn’t make you want to pull your hair out.
Once your basic map is built, you’re ready to add the most important part—the seats.
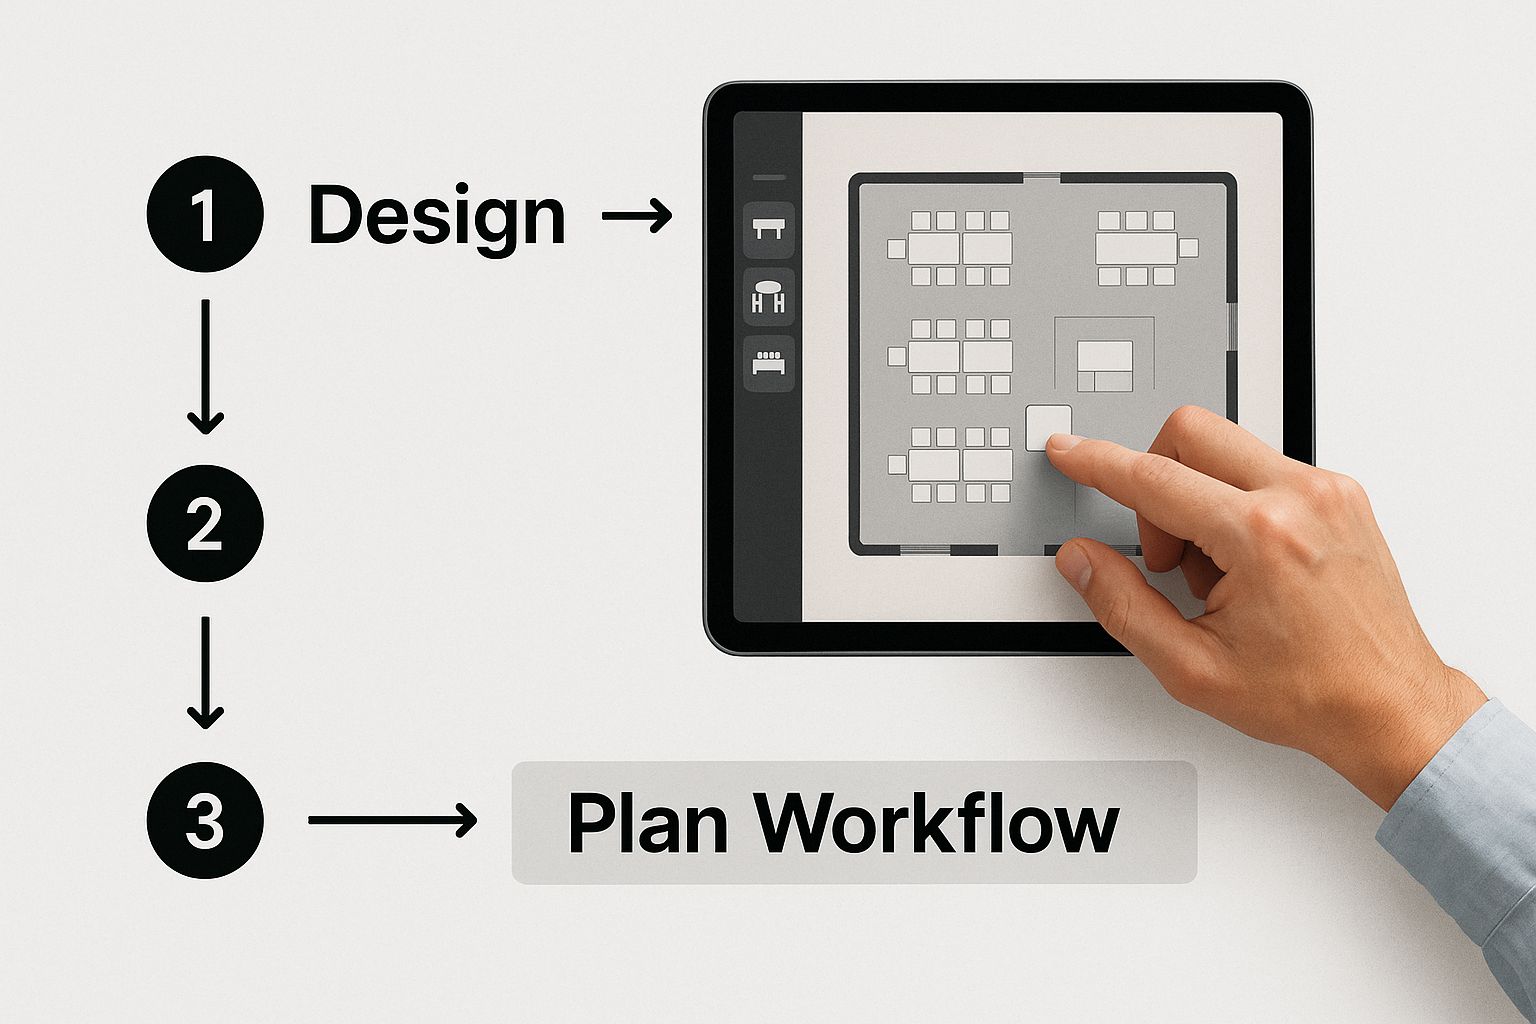
How to Configure Seats and Ticket Tiers
Once you’ve mapped out the basic bones of your venue, it’s time for the fun part: turning that simple diagram into a real, money-making floor plan. This is where a top-notch event floor plan creator like WP Seats really starts to pay for itself. We’re moving beyond just drawing shapes and into the strategy of selling your space. Our regular product updates and feature launches continuously add more power to this process.
The key is to think like your guests. Where are the best views? What seats are close to the action? A smart layout doesn’t just look good; it anticipates what attendees want and makes it easy for them to find the perfect spot for their budget.
From Rows to Revenue
Instead of painstakingly placing every single seat one-by-one, modern tools give you a massive shortcut. With WP Seats, you can use row-generation tools to instantly create perfectly aligned sections. Imagine mapping out a concert hall: you can draw a “Front Orchestra” section, a “Mezzanine,” and a “Balcony” in just a few clicks, each ready for its own pricing.
The best way I’ve seen this done is by creating logical pricing tiers that make sense to the buyer. Here’s a simple breakdown:
- Premium Tiers: These are your
VIPorFront Rowseats. They’re for the superfans who want the absolute best experience and are willing to pay for it. - Standard Tiers: Think of these as your
Orchestra Centerseats. They offer a fantastic view at a solid, mid-range price. This is where most of your sales will likely come from. - Value Tiers: Don’t forget the more budget-conscious attendees! Categories like
Side VieworUpper Balconyensure you fill every last seat and maximize your total occupancy.
The most successful event layouts are built from the guest’s perspective. By optimizing for sightlines and flow, you’re not just organizing a space—you’re designing an experience that encourages ticket sales and positive reviews.
The drag-and-drop workflow in a quality event floor plan creator lets you see all of this visually. It becomes immediately obvious how a small tweak to a section can impact your potential revenue.
This approach is all about moving from a basic layout to a fully configured, sellable seating chart with both speed and precision.
Connecting Your Plan to the Market
Having an interactive, detailed floor plan isn’t just a “nice-to-have” feature anymore—it’s a core part of modern event management. While user stats for specific floor plan tools can be hard to pin down, the bigger picture tells the story. The event management software market ballooned to USD 8.4 billion in 2024 and is on track to hit USD 9.32 billion in 2025.
That kind of growth, led by North America and Europe, shows just how much event organizers are relying on digital tools to handle the complex logistics of getting people into a physical space. This trend even extends to virtual events, where floor plans can represent digital booths or networking rooms. If you want to dive deeper, you can discover more insights about event software market trends and see where the industry is headed.
Pro Techniques for a Professional Layout
A basic map shows where things are, but a truly professional layout does so much more—it guides your attendees, improves their experience, and makes your entire event feel more polished. Moving beyond simple seat placement is what separates a functional map from an unforgettable one.
These WordPress event management tips turn your event floor plan creator from a simple tool into your secret weapon for crafting an intuitive, high-end venue map.
Create Smart Seat Groups for Tables
If you’re hosting an event with set dining, like a wedding reception or a fundraising gala, this is a must. Instead of just placing a dozen individual seats around a circle, you should create seat groups for each table.
With a tool like WP Seats, you can group seats together so guests can book an entire table for their party or just select specific seats at that table. It’s a small touch that makes a huge difference, removing confusion and making group reservations a breeze.
Add Clarity with Icons and Visual Cues
Nothing frustrates an attendee more than not being able to find what they need. You can prevent this by adding simple visual cues for key amenities right on your map. It’s as easy as dragging and dropping icons onto your layout.
Think about what your guests will be looking for:
- Restrooms: A universally recognized icon is a lifesaver.
- Bars & Concessions: Mark these clearly to manage traffic and point hungry or thirsty guests in the right direction.
- Entrances & Exits: These are absolutely critical for safety, crowd control, and a smooth flow of people.
- Information Desks: A simple icon here can save your staff from answering the same “Where do I go?” question all day.
This kind of detail transforms your map from a static grid into a genuinely helpful guide that your attendees will appreciate.
The best floor plans anticipate what your guests need before they even have to ask. Smart color-coding, clear icons, and logical grouping don’t just organize a space—they build user confidence and make the entire event feel well-managed and professional.
Finally, you absolutely have to ensure your layout is fully responsive. A huge percentage of your audience will be browsing and buying tickets on their phones. A professional floor plan must look and function perfectly on a small screen, guaranteeing a seamless booking experience for everyone, no matter what device they’re using.
This is the kind of attention to detail that elevates your event from good to great.
Taking Your Floor Plan Live to Sell Tickets
You’ve done the hard work of designing a professional, intuitive floor plan. Now for the exciting part: connecting that layout to your sales process and watching the tickets roll in. This is where your design transforms from a static map into a live, interactive booking experience right on your WordPress site.
Let’s bridge that final gap and get you selling.
Linking Your Map to WooCommerce
The WP Seats plugin is built to make this connection incredibly straightforward. Every seat category you’ve created—whether it’s ‘VIP,’ ‘Orchestra,’ or ‘Balcony’—needs to be linked to its matching WooCommerce product. This simple link is what allows your floor plan to “talk” to your shopping cart, automatically showing real-time seat availability and handling payments.
Once you’ve linked everything up, your interactive map will show up directly on your event page. Customers can see exactly which seats are still available and pick the one they want. It’s a massive upgrade from the old, frustrating “best available” systems, putting genuine choice back in your customers’ hands. For a detailed walkthrough, check out our full guide on how to effortlessly sell event tickets on your WordPress site with WP Seats.
Before you go live, always, always run a test purchase. Seriously. Go through the entire process like a real customer, from picking a seat to checking out. It’s the single best way to catch any small glitches before your audience finds them.
With your event floor plan creator live and working, the last piece of the puzzle is getting people to see it. How you present your interactive map on your website is crucial for turning curious visitors into ticket buyers. You can explore some inspiring event landing page examples to get ideas on how the pros showcase their events to drive engagement and maximize sales.
Common Questions About Floor Plan Creators
Even with the best tools in hand, questions always pop up when you’re deep in the weeds of building a venue map. I get it. Over the years, I’ve seen a few common challenges trip up event organizers, so let’s get those sorted out right now.
Can I Really Use My Own Venue’s Schematic?
Absolutely. In fact, you should. Professional tools like WP Seats are built for exactly this scenario. You can upload a JPG or PNG of your venue’s official blueprint and use it as a traceable background. This is the secret to ensuring your digital plan perfectly mirrors the physical space, leaving no room for guesswork.
How Do I Manage Reduced Capacity?
This is surprisingly simple and a lifesaver for events with changing guidelines. Instead of deleting seats, you can just deactivate specific ones or even entire rows, making them unbookable.
Once you have the layout you need, save it as a new chart version—something like “Reduced Capacity Layout.” Now you can assign it to specific events without having to start from scratch every time.
Pro Tip: Never, ever change a seating chart after tickets have already gone on sale. If a last-minute change is absolutely unavoidable, you must personally contact every affected attendee to re-allocate their seats. The software can’t do this for you, and direct, human communication is non-negotiable.
What About Adding Non-Seating Objects Like a Stage or Bar?
Yes, and this is a critical step for a great user experience. Use the available shape, icon, and text label tools to clearly mark the stage, restrooms, bars, and exits.
Adding these contextual details helps attendees make smarter booking decisions and navigate the venue with confidence on event day. From concerts to trade shows, you can learn more about what types of events benefit from detailed floor plans to see just how versatile a well-designed map can be.
Ready to build floor plans that actually boost sales and make attendees happy? WP Seats gives you the intuitive tools to design, manage, and sell out any event space with confidence. Start creating your interactive floor plan today!
Article created using Outrank